Impromptu Shawl: Section 1

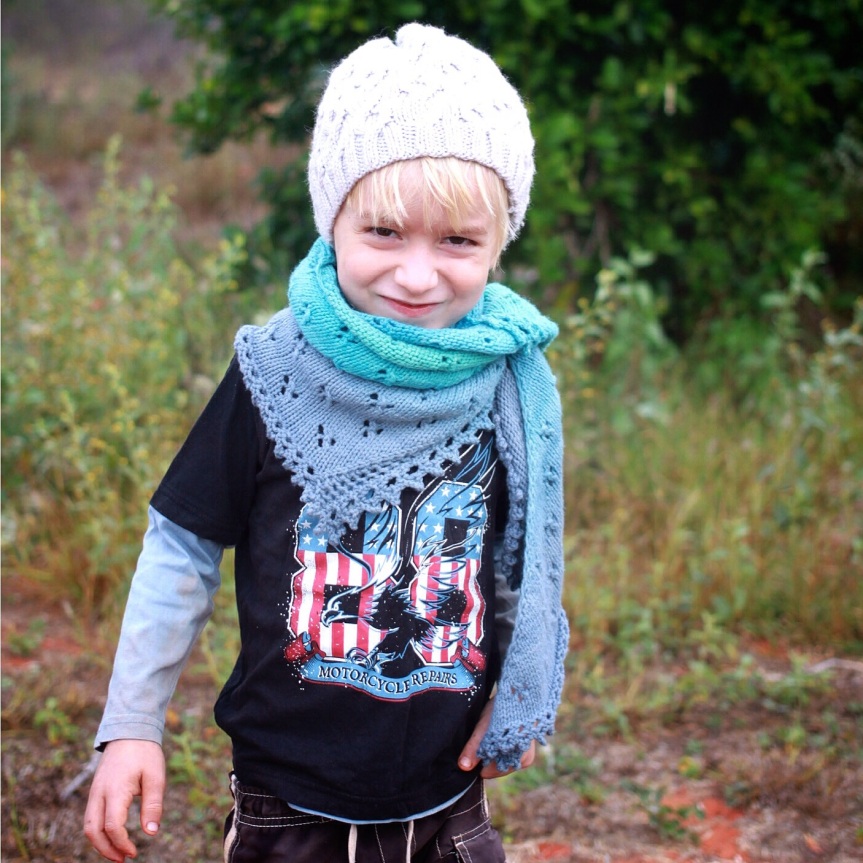
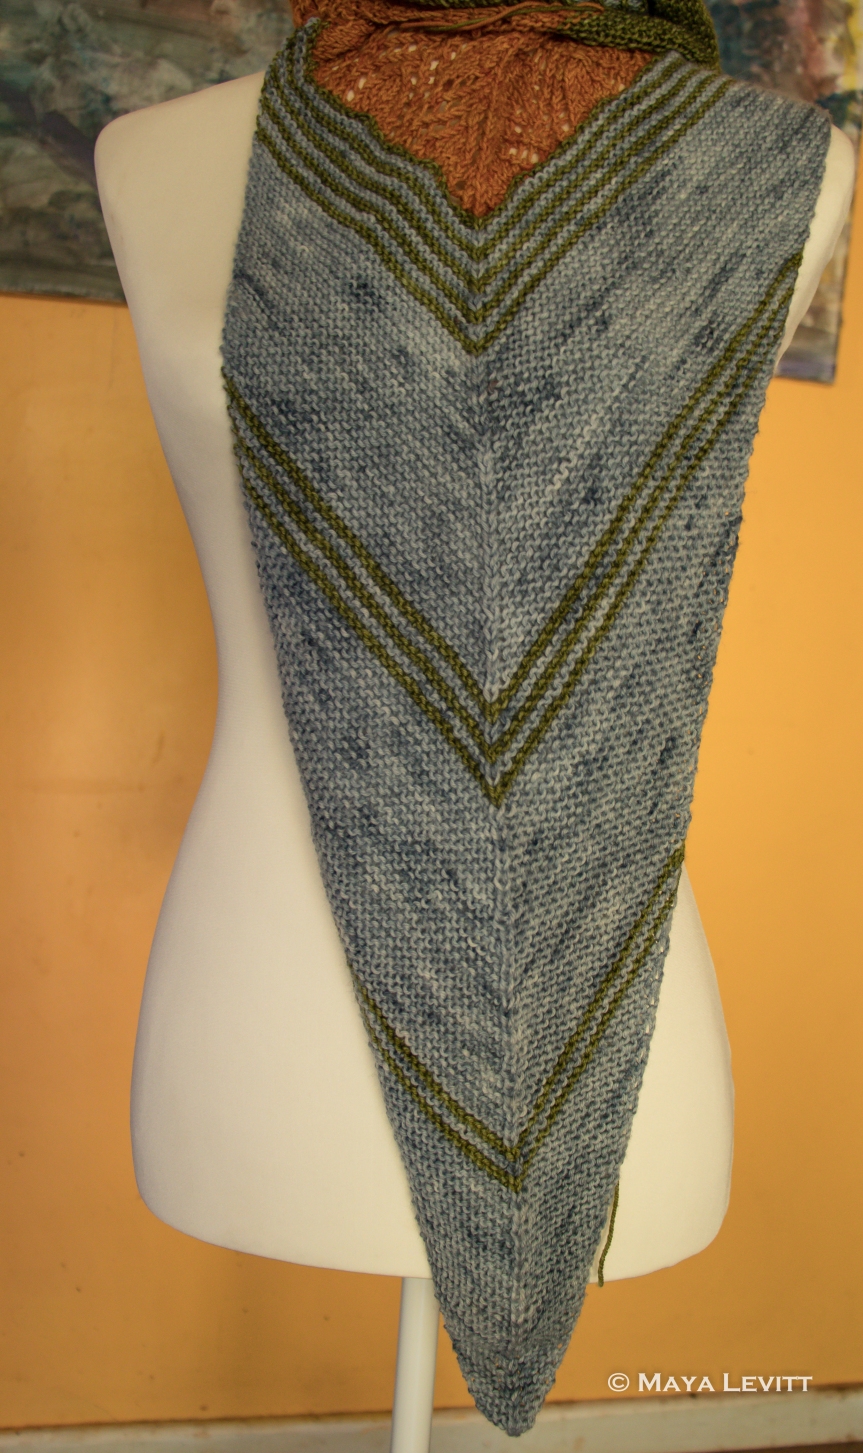
Here it is. The first part of the pattern for the Impromptu Shawl.

You need colours A and B, the stitch marker and your knitting needles.

 Abbreviations

k: knit // p: purl

kfab: knit front and back

cdd: centered double decrease [Slip 2 stitches together, knit 1, pass the 2 slipped stitches over together. See video for more details.]

pm: place marker // sm: stitch marker // st: stitch

Cast on

Use colour A and cast on 7 stitches using the long tail method

Knit 1 row

Section 1

Row 1 (RS): kfab, cdd, k1, place marker (pm), kfab, k1

Row 2: kfab, k to sm, k1, p1, k to 2 st before end. Kfab, k1

Row 3: kfab, knit to 3 st before sm, cdd, remove marker, k1, pm, k to 2 st before end. kfab, k1

Row 4: kfab, k to sm, k1, p1, k to 2 st before end. kfab, k1

Repeat rows 3-4 a further 21 times. Stitch count 53

Make 2 stripes in colour B.

Continue repeating rows 3-4 but change between colour B and A, with each strip being 1 repeat of rows 3-4.

In colour A repeat rows 3-4 5 more times. Stitch count: 69

Row 63: kfab, knit to 3 st before sm, cdd, remove marker (rm), k1, pm, k to 2 st before end. kfab, k1

Row 64: k to sm, k1, p1, k to 2 st before end. kfab, k1

Repeat rows 63-64 a further 13 times.

Stitch count: 83

Make 3 stripes in colour B, continuing to repeat rows 63-64

Stitch count: 88

Change to colour A and repeat rows 63-64 a further 17 times

Stitch count: 105

Make 5 stripes in colour B continuing to repeat rows 63-64

Stitch count 114

If you have any questions please email me at mayalevittdesigns@hotmail.com or comment of the post on IG.

The frustration of photographing children: tales of a knit photo shoot

I think most people that have kids know this. I will admit straight out I am not a great photographer. I might take an amazing shot now and then but it will be a complete fluke. My photos are basic and of what they need to be. I would love to develop more artistry but alas I do not have the time (and maybe not the patience).

I have a new pattern due for release. It is a beanie and called Dryad. I actually designed it 2 years ago, but did nothing with it. Well I have now written it up and it is almost ready for release. Except for the photos. I had the samples. I had two children. And we were going to a beach that is magnificent. I should have known better.

image

First issue I didn’t take into account? The light. It was really the wrong time of day and way too bright. It was hard to see the detail of the beanie.

image

Second issue? Children don’t particularly like to stand still very long. Especially when there is so many interesting things to look at. And they don’t particularly like being cooperative when asked to wear beanies and “look cold” when it’s actually close to 35 degrees Celsius.

image

I did finally get a few that could work. And thought I can try again later.

This morning it was foggy. So a lovely diffused light. I dressed the kids up and promised chocolate.

Sigh. How hard is it to get two boys to look at you at the same time without pulling strange faces. Or doing something weird.

image image

Look out early October for the release. It’s a quick fast knit that produces a lovely slightly slouchy, stretchy beanie with simple cable detail.

My knit design story.

Hello again,

I am terrible at blogging. But I am going to try to get it up and running again. There are few changes floating around, I have know changed the name of this blog to Maya Levitt Designs.

This is the name under which my Ravelry Store operates. I am hoping to be organised enough to open a Love Knitting one soon. After a few starts and stops I have finally found what I think is my little niche design wise. And it all starts with a set of shawl patterns on special. I don’t know about you but I can’t resist a special. I have numerous patterns in my Ravelry Library which I will most likely never knit, or knit only once due to being unable to resist a special (I am working on this). But back to the story. The sale was for a designer raising money for her mum.

So I bought one to try. It was called Mercury in Retrograde. Then I found the perfect skein. A wonderful green called Sprouting Greens by Meraki Studio in a merino/silk blend. And my love of shawls began.

But being who I am, I can’t help but play with patterns and lace once I learnt how to create the basic triangular shape. So I placed around and knit, frogged, knit again, frogged until I had a lace pattern I liked. And then I managed to snaffle one of Gradient’s Spring Rainbow skeins. (Amazing yarn). And off we went. I finished it and was amazed at how pretty it was.

And then I found was sent a private message on Instagram. I love Instagram for the craft and knitting community it has. Gradient had liked my design so much she wanted me to write up the pattern and have it associated with her colour way Spring Rainbow. I wrote it up. after testing it was released onto Ravelry. I’m still amazed at the feedback i received for a pattern I designed on a whim.

lum lum2

I won’t say it was easy, as the testing process took a lot of work. But here was my first lace shawl I designed.

And more were to come. I have another about to be released, another being written up and another waiting for me to finish the sample. But that is another story for another day.

The Luminous Shawl Pattern us available on Ravelry at Luminous Pattern.

Until next time.

Free newborn pixie hat pattern

So who feels like a free pattern. It’s only one size (newborn) but it is adorable. It is designed for 4ply cotton (I use patons regal cotton), but fingering weight wool would work as an alternative.IMG_1317 (2)

Gauge

27 stitches and 34 rows for a 10 cm square on 3.25mm needles

Cast on 70 stitches using long tail method.

Knit 1 row

Next row: k1, p1 to the end.

This is the start of the rib band. Repeat this for the next 7 rows.
Start of pattern

Row 1: K2, s5wyif (bring yarn so it is in front of the stitches and slip 5 stitches as if to purl pull the yarn back as if to knit), k1. Repeat until 2 st remain. K2

Row 2: purl

Row 3: k2, *k2, using the RH needle put the needle underneath the loose thread in front of the stitches then knit the stitch bringing the stitch out from under the loose thread, k3* rep to last 2 st, k2

Row 4: purl

Row 5: k1, s3wyif, k1, *S5wyif, k1* repeat until 5 st left. s3wyif, k2

Row 6: purl

Row 7: k1, *knit 1 under slip st, k5*, k2

Row 8: purl

The Purl Bee website has a very good photographic tutorial that shows how to knit the stitch patter. You can view it here: Trellis Stitch tutorial.

Repeat the pattern until piece measures 5.5 inches. Fold the piece in half wrong side out. Using with Kitchener stitch or a 3 needle bind off join the piece with the live stitches, making sure they match evenly. 

Finishing.
Pick up the stitches around the neck (the edge of the piece folded in half and stitched together).

Rib (k1, p1) 8-9 rows. Bind off.

Block gently.

At the corners join and create ties. I just used chain stitch with a 3.5mm crochet hook but I-cord would work just as well. Weave in ends.

I hope you enjoy this pattern.